Guide For Taking Great Airplane Window Photographs

How To Take Great Photos Out The Airplane Window
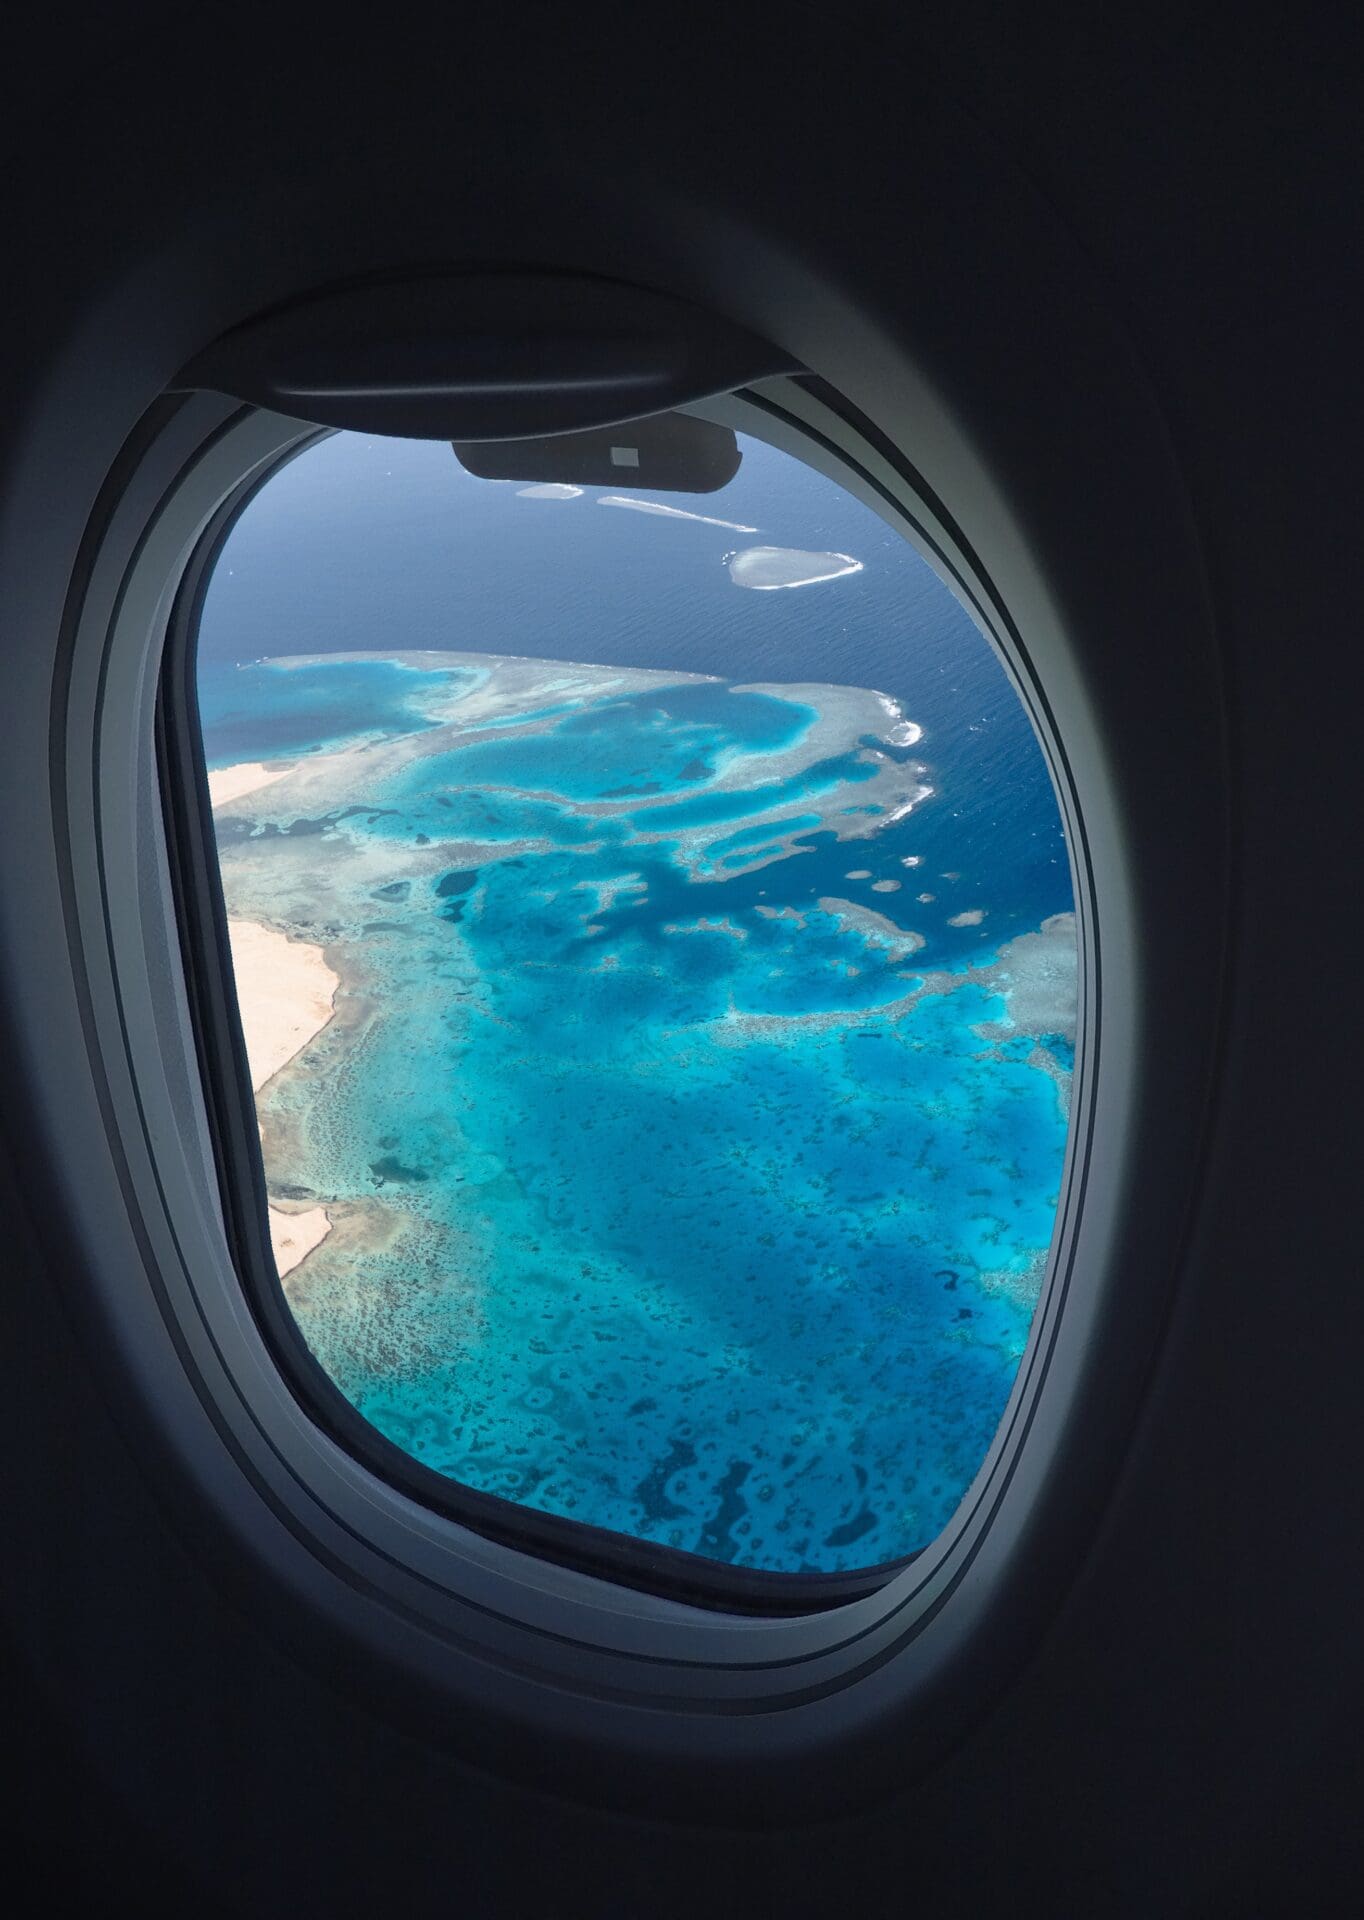
If you’ve ever tried to take a shot from inside an airplane, you may well have been disappointed that the results didn’t mirror what you saw out your window. You’ve seen some classic out-of-the-window shots taken on airplanes, but just how do the photographers get them looking so darn good?
Here’s our guide to improve your chances of capturing that great travel shot while looking out your airplane window:
Get the Best Seat You Can

Pexels.com
Obviously, you want a window seat! Try to get one as far away from the wings as you can, unless you want to use the wings as part of your shots. Lots of airlines let you book your seat of choice before you fly, so choose carefully. Give thought to the geographic route you are traveling on. Are you flying east to west, north to south, is there a better side of the airplane to be seated on for potential views – which side will the mountains or ocean be on?
Be Ready
If you want to take aerial shots of the ground, you’ll only have a small window of opportunity to do it. The key is to be ready for the right moment. Just after takeoff or before landing, the plane usually banks, so these are your chances to get some cool shots of the ground from above.
It’s best to take your shots early on in the flight, before the windows get misted up with condensation or ice. If you shoot when your window is as clear as it can be, your shots will be better for it.
Where’s the Sun?
The position of the sun in the sky can make or break your images. If you are facing the sun, it won’t be much fun, and you may end up with lens flare on your images if you’re not using a lens hood. The sun shining through your window will also highlight all the dirt and grease on the window.

Unsplash.com by Jason Leung
‘Golden hour’ is a great time to take a photo because if soft, warm light.
Cut Down on Reflections
A common mistake is for people to place their camera lens right up against the glass of the plane window, hoping that it will cut down on the glare and reflections, and also as a way to steady their camera.
The vibration of the plane will actually make the shot more blurry than if you just hand-held the camera.
If your camera has a lens hood, use it. Put it on and get as close to the window as you can without actually touching the glass. This will help cut down on unwanted reflections. If you don’t have a lens hood, use your free hand to cup around the lens as much as you can without touching it.
Take your images through the center of the window, as the edges can distort the image. Don’t use flash – It will cause reflections and glare in the window, and could annoy your fellow passengers.
Use Manual Focus
When you’re shooting through glass – especially the thick and often scratched type of glass used in plane windows – your camera’s autofocus can become confused. If your lens has a manual focus switch, use it, and if you’re using a smartphone, read the manual to find out how you can lock the focus on a certain point. If your camera is a compact, set it to infinity focus or set it on Landscape mode.

Focusing on the window vs focusing on the view
Dealing With Camera Settings and Motion Blur
The motion of the plane can blur your shot very easily, especially if you’re using long focal lengths. Try to keep your ISO high, around 400 or more, and your shutter speed as fast as you can. Sometimes 1/300th second will be enough, but even as high as 1/640th second may not be enough to eliminate all motion blur.
If you have a compact camera, set it to a ‘sports’ or ‘action’ mode, and hopefully this will be enough to freeze movement in your shot.
If you want to shoot night-time images of city lights, increase your ISO so you can still have a fast shutter speed. Don’t forget the higher your ISO, the more digital ‘noise’ will be introduced into the image. You can clean this up in post-processing with a photo-editing program.
Keep your aperture to around f/8 to f/16 if you want your entire image to be sharp and have a wide depth of field.
Post Processing Your Photos
Most photos shot from plane windows tend to be a bit washed out and grayish because of being taken through thick glass, and also because of the atmosphere. To fix these issues and enhance your images, you should use a photo-editing program to adjust contrast, clarity and brighten colors.

Photo editing can also help you to deal with window scratches or spots. Some photo editors (like Photoshop, Luminar) have ‘smart’ erase tool that can delete objects from the photo being aware of what’s on the background (it can take some time thought).

Erasing the big scratch (you can see it on the previous photo) with Photoshop Spot Healing Brush.
Hopefully these tips will help you bag some great shots the next time you’re traveling by air. It’s one way of making a long flight enjoyable and the time will just fly (it’s a terrible pun, I know!). One important thing to remember is to be considerate to your fellow passengers. It can be annoying if someone is taking photos the entire flight with a noisy camera, and hogging the window all the time isn’t a good idea either.
You’re now ready to take your best-ever airplane window images, so go and enjoy!
***********************************
About The Author: Max Therry is an architecture student who is fond of photography and wants to become a professional photographer. He is also working on his photography blog about photo editing, modern photo trends, and inspiration. Feel free to reach him by email’.
***********************************


